Showing posts with label flowers. Show all posts

Thursday, 17 November 2016

Favourite things of 2016

Hello November
where did the year go? 

The other day, I sat and wrote down all the projects that were my favourites for 2016.  Socks, dyeing, flowers, little bejewelled blankets...too many to include here!  I think you all know that knitting socks is one of my favourite things to do...it's theraputic for me and now that I've gotten my formatting down, I can do it without a pattern.  You could too if you tried.
(Free tips on knitting socks here...☺
                              http://wildaboutyarn.blogspot.com.au/2014/11/aburning-sock-desire-sock-knitting-in.html  )
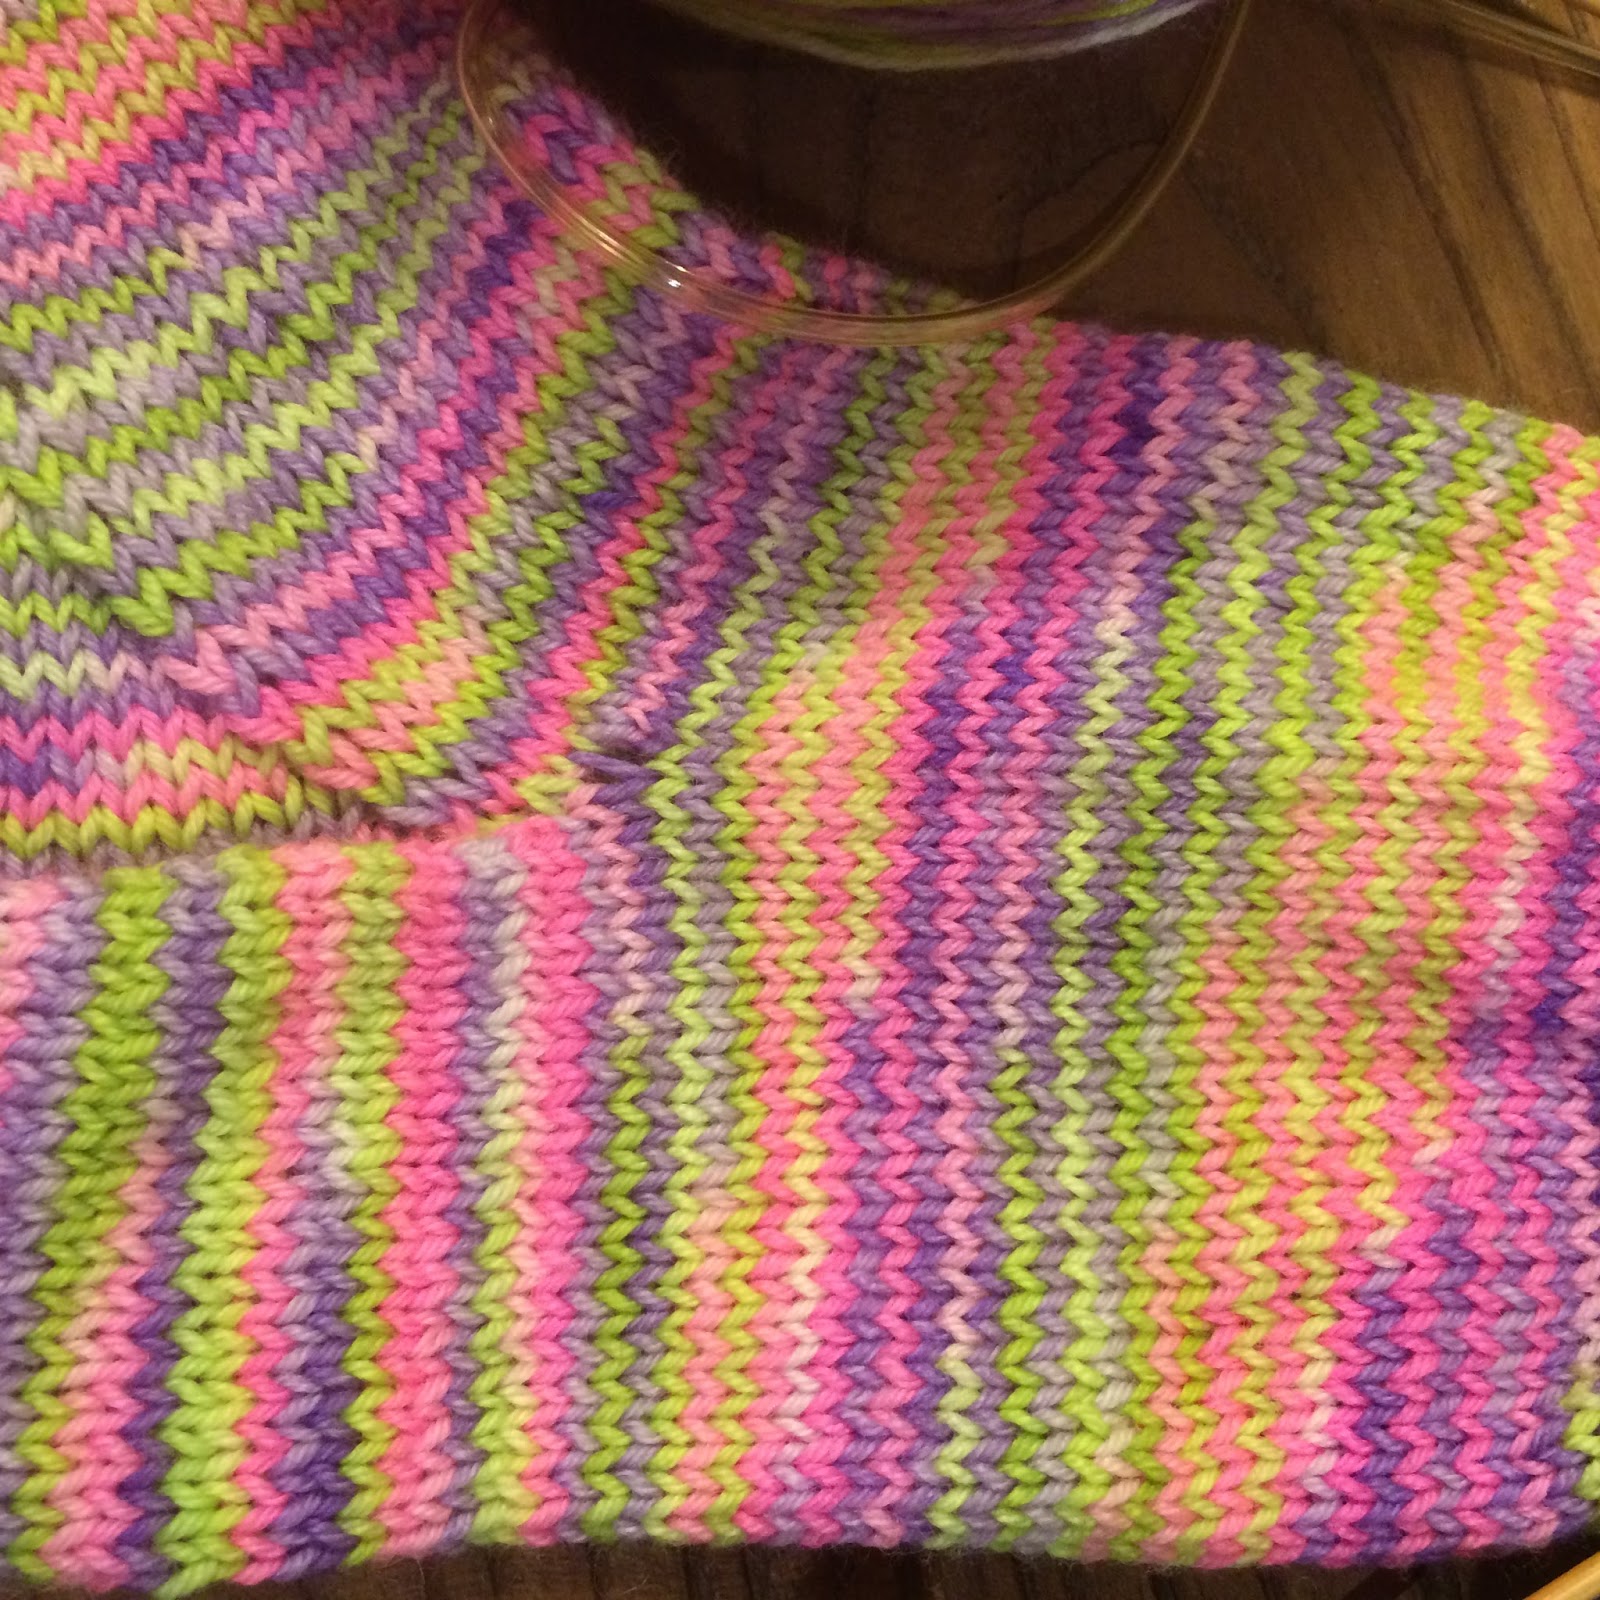
This is Secret Garden yarn, gifted to me by the lovely Connie  who has just uploaded a whole new batch of delicious yarns!

(Find these beautiful yarns here...Chile Knitz yarns

I fell in love with this Regis Thelma colourway  - this is the basic sock pattern
Hermione socks http://www.ravelry.com/patterns/library/hermiones-everyday-socks  in Kaleidoscopeali Paintbox 7 yarn

 I wanted ankle socks and Rosecity Rollers  (Find them here...seemed perfect, 
quick to make and are so cute.    (I used a Madeline Tosh  - light pink - and  a multi coloured sock yarn from Spotlight for the toes and cuff.)

Nature featured in many of my projects this year whether it was in dyeing or prints.   I travelled extensively throughout Queensland this year teaching workshops. It's my passion and seeing the achievements of all those who attended is just one of the rewards of being able to share my knowledge and skills. At last count, there were more than 120 participants  who took part in my classes this year. A huge thank you to everyone for the support and creative fun we had.

Sock yarn dyed with avocado pits/skins and wattle
DYEING yarn and paper were part of some of the workshops.  Dyeing is easy to achieve for beginners but the process  always offers a uniqueness;  there is some ofthe unknown in how it turns out which makes it  exciting.

Are you like I am & want to knit every skein you dye just to see what colour pattern emerges? Alas, some fly out the door to other homes before there's a chance but there's always the thrill of seeing the variations once the skein is dried and caked up.  Gathering plants in season ensures I achieve the colours I want so keep that in mind. (Freeze the leaves and flowers for later use.)


You don't need to use plants to achieve dyes.  The yarn on the left has been dyed with food colouring and yes, it's permanent.  In the 3rd issue of  Wild About Yarn Magazine (still available here Wild About Yarn issue 3, PDF download only ) there is a yarn dyeing tutorial using food colouring showing how easy it is for anyone.  The magazine also has an interview with the very generous Heike Gittens of Madewithloops  and did you know Heike and Claudia  now have a new book available? (Find it here A Little Book of Shawls).  


 Dyeing with plants is a matter of science and sometimes serendipity even when you follow all the rules!  Water quality effects the ph balance too, so what might have been purple can turn out brown.  I teach yarn and fabric dyeing workshops so if you are interested in a workshop, contact me for details. (wildaboutyarn@outlook.com) 
Announcement: Later this year, my book  - The Magic of Microwave Dyeing - will be published! 


Flowers

One of the most popular photos this year has been my knitted and crocheted flower arrangements. I created my own secret garden.
We have the best of both worlds today - the colours of our yarn choices are innumerable and the internet brings many designs and tutorials for us to try.   I love that more designers are creating wearable art and home decor that fits in well in contemporary times.  And I look forward to discovering more creative ways to display and arrange yarn projects.  Pinterest (Lu Douglas Pinterest crochet)
Pinterest is nothing short of magic.


Montages are compact moments of  personal history and every month, I prepare one. It reminds me of just what I've achieved and I don't mind telling you that I sometimes surprise myself.
(top right) current Scrappy socks   (bottom left) daisy granny squares for a blanket
                               (bottom right) basket made using foraged plants
Clockwise from top left:  I called this my Bijoux Blanket and have been working on it with my multi talented friend, Teresa Mercer, from Montana (find her crocheted items and jewellery here  Mercer Made)  This tiny block is a universal one but how delightful to create a join-as-you-go project when the larger ones get to be overwhelming. (You could join us too. See below for the method and hashtag it   #bijouxblanket on Instagram. Tag me please @wildaboutyarn)  
Thank you Alice (Instagram @alicebyday)  for the inspirational photo. 
The Bijoux Blanket is a great way to use up left overs for a runner or a small throw; make it into a bag and line it, or add more blocks to the design to create a shawl.  So many possibilities.

BIJOUX BLANKET METHOD
Magic ring. (UK TERMS) 
ch3, 2tr into ring, *ch3, 3tr into ring, repeat twice more from *, slst into the 3rd ch of the beg ch3.  Done. :-) 
For subsequent motifs, use join-as-you-go method at the ch3 section by doing ch1, slst into the corner of the first motif, ch1, continue with 3tr into the ring, Repeat this at the next corner and at corners where the motifs meet.   Work in rows. 


 Remember to put aside a little time each day for you...and enjoy November before the rush of Christmas begins.

Happy stitching,
Lu


Saturday, 9 May 2015

Ring a Ring a Rosie Doily for May


                                     Ring a ring a Rosie 
  
Inspiration for the doily from Frankie Magazine pages
                                         Doily for May

I couldn’t resist making another monthly motif.  I started making motifs because they were quick projects for a busy life,  because it felt like I achieved something and because I wanted to use up my stash.  (and I love using the beautiful textured pages of my Frankie Magazine 
(find it here…Frankie Magazine)  for a host of paper art. Here are the roses I made that inspired me to make this doily.)  

But now to our Rosie… (..Find it here on Ravelry ...)


Yarn choices

Materials:                                                                                                           
4ply yarn in White, green, dark pink, medium pink  (yarn from Spotlight stores)                                        
3.00mm hook
Tapestry needle, scissors

   1.  Magic ring, ch5 (stands for 1dtr, 1ch), 1dtr, 1ch into the ring, repeat from * around 18 more times.  (20tr, 20ch). Slst into the 3rd ch of the beg 4ch. 


row 2...
   2.  ch3, 1dc in next ch space, *ch3, 1dc in next ch sp, repeat from * around to the last ch sp, ch1, htr into the slst of the row before. 

   3. *ch3, 1dc in next ch3 sp, repeat from * around to last ch3 sp, ch1, htr into last htr. 

   4.  Repeat row 3.

   5. *ch4, 1dc in next ch3 sp, *ch4, 1dc in next ch3 sp, repeat from * around to last ch3 sp, ch2,  htr in the htr on previous row.


   6.  Ch5, 1dc in next ch4 space, *ch5, 1dc in next ch4 sp, repeat from * to the last ch4 sp, ch3,htr in the htr on the previous row.

7.  Repeat row 6 until the last ch5 sp, ch3, tr in the last htr of previous row. .

8.  Repeat row 7.


9.  Ch6, 1dc in next ch5 sp, *ch6, 1dc in next ch6 sp, repeat from * to the last ch5 space, ch3, tr in the htr of the previous row. 

10. Repeat row 9, in the last ch6 sp,  tr  in the tr of the previous row at the end.

11. Ch7, 1dc in next ch6 sp, *ch7, 1dc in next ch6 sp, repeat from * around to the last ch6 sp, ch3, dtr in tr of previous row.  Fasten off white yarn.

 12. Join green to any 7ch space.  *(Ch4 {stands for tr, ch1} , tr, ch1, tr, ch1, tr, ch 1) in the same 7ch sp,  repeat from * around.  Sl stitch to the 3rd ch of the beg 4ch.  Fasten off green.

13. Join dark pink to the ch4 space at the beg of the previous row, ch3, 2trcl in same space, ch1, 3trcl in next ch sp, ch 1, repeat once in the next ch1 sp,  ch3, *(3trcl in next ch sp, ch 1, repeat  two more times in each of the ch spaces,)  ch3,  Repeat around , join with a slst into the 3rd ch of the beg 3ch. Fasten off  colour.

 Join med pink into the next 3ch space.   

14.  *ch3, dc in ch1 sp, repeat around doing ch3, and a dc in the green ch1 space BELOW the ch3 space  - this is a long DC.   Do this at every 3ch space.   Slst into the 3rd ch of the beg ch3.  Fasten off med pink.  

Edging 
15.  Join white into a ch3 space with a dc.  *Ch3, dc in dc of previous row, Repeat around, end with a sl st into the 3rd ch of the first dc. 

16. *ch 5, dc in dc of previous row, Repeat from * around and slst into the dc of the last row.

17. *ch 6, dc in dc of previous row, Repeat from * around and slst into the dc of the last row.

Edging  (right)
18. *2dc in the ch6 space, ch3, 2dc in same ch7 sp, ch3,2dc in same ch6 space,  Repeat from * around  and sl st into the dc of the previous row. Fasten off.


I'll be off stitching.

          
Lu xxx

Instagram:  @wildaboutyarn
ETSY:  ludouglasdesigns
Ravelry: ludouglas

Thursday, 8 January 2015

January YAL, Blossom Pin Keeper, YALyearoftheflower2015


The YAL - yarn a-long -  is here! 

Blossom Pin Keeper – Project 1, Jan 2015

What better than to begin with something we use every time we crochet!  There is a crochet pin keeper and a different knitted pin keeper.   

In this wonderful 'Year of the Flower, 2015, you'll work  from a  different pattern  every month in knitting or crochet and sometimes both!  All the projects will have a flower theme and be useful.   They'll also be achievable since we yarn lovers tend to take on more than we can manage.  :-)    You might like to make extras as gifts for Christmas or birthdays! Do let me know how you go! 

Blossom Pin Keeper, crocheted version


Blossom Pin Keeper, knitted version

On the first of every month, a new pattern will be posted to the blog, and an announcement will be made on Instagram. The patterns will be available on Ravelry as a PDF, linked from the blog, for ease of printing.  You can download the patterns from Ravelry  and delete  any of the photos in a separate document for printing.   Both patterns can be found here Blossom Pin Keeper, crochet version (**please note the additional row 7 which was not in the original pattern) and Blossom Pin Keeper, knitted version  on Ravelry

If you complete the pattern, please tag me on Instagram, or leave a comment below.  The hashtag for Instagram is #yalyearoftheflower2015

I hope you enjoy making the pin cushion.   
Lu  xx

_____________________________________________________________
** Errata: please note: there is a 7th row of dc all round, with '3dc, 2ch, 3dc' in each corner.  (so sorry)  

Blossom Pin Keeper – Project 1, Jan 2015 (crochet) 

I love making functional objects that I can use to hold my notions while I create. This cushion is for the pins I use to block my knitted or crocheted projects.  They lose their sharp point during the blocking process so I like to keep them separate. 

This is a fast project and requires small amounts of yarn and a little fabric.  You can find it on Ravelry here...Crochet Blossom Pin Keeper 

DETAILS

6 colours - Yellow, green, white, two shades of pink, red
3.5mm hook
Tapestry needle to sew in ends.
Scissors
2 Pieces of coordinating fabric 13cm x 13cm.  (insert)
Toyfil fibre or sand and a funnel for the insert (I have used toyfil)
Sewing needle and cotton to stitch up the opening of the insert
Finished size – 12cm square

Abbreviations in UK terms
Ch – chain     slst – slip stitch          dc – double crochet          tr – treble
Trcl – with all the clusters, leave the last loop of each stitch on the hook and then at the end, draw through all loops. 

METHOD – the pin cushion is made from a large granny square with a  flower centre

Row 1


1.  Yellow - Magic ring, ch1, 8dc into ring.  Sl st into the first dc. Fasten off colour 1.  Weave in ends.

2.   (white) Join colour 2 in any dc.  Ch3, 2trcl into same place as the slst, 1ch, *3trcl into next dc, 1ch, repeat from * around,slst into the 3rd ch of the beg ch3.  (8 -3tr clusters, 8 ch) Fasten off. weave in ends.

row 3

3.   (green) Join colour into any 1ch space. 3ch, 2tr in same place as the ch,  2ch, 3tr in same place (corner), ch1, *3tr in next 1ch sp, ch1, (3tr in next ch space, 2ch, 3tr in  the same ch space,  this is the second corner), ch1,  repeat from *  two more times, slst into the 3rd ch of the beg 3ch.  Fasten off. Weave in ends.

Add fourth colour

4. (red) Join colour into the corner 2ch sp.  Repeat as for row 3 only there will be  TWO spaces in between the corners.  Do 3tr, 1ch in every space and 3tr, ch1, 3tr in each corner.  Fasten off.  Weave in ends. 

5.  (med pink) Repeat as for above with T HREE spaces in between the corners. Fasten off.  Weave in ends. 


6.  Continue with the rounds of light pink, green and yellow.   Fasten each colour off.  Weave in ends. 
7.  Continue in yellow with a dc in every stitch and *3dc, 2ch, 3dc* in each corner. 

 BLOCK the square.

ASSEMBLY

All corners are going to be brought to the centre and stitched along the diagonal.


1...bring 2 adjacent corners to the centre

1. Bring two adjacent corners to the centre and with a running stitch, join from the middle to the corner.  

2. Work your way around the square joining corners starting at the middle first and working your way out to the edge. Use a running stitch to join. 

Join using running stitch

Two diagonals joined

Work your way out to the  middle to the edge

Leave the last diagonal open (below) so you can insert the filled cushion inside. 


The last diagonal...


3. Stitch up the last diagonal.


The back side - such a shame to hide it but lovely to know it's there..


INSERT - seam allowance
Draw a square on your fabric, wrong side,  5mm in from the cut edge. Stitch around the square leaving a 3cm opening on one side. You will turn the square through here.  


Fill the insert with sand or Toyfil fibre.  Using a small stitch, close up the opening. Place the insert in the crocheted square before closing up the last diagonal join. 


FLOWERS
3.5mm hook, white and yellow or colours of your choice
1.  Magic ring, 8dc into ring,  Slst into 1st dc.
2.* Ch3 2trcl in same place as sl st, 3ch, slst into same place as trcl, slst into next dc,
      repeat from * around – 8 petals.  Slst into the first dc on previous row.
 3. Fasten off leaving a long tail.
Join flowers to pin keeper with long tail. 


_____________________________________________________________________________


         Blossom Pin Keeper – Project 1, Jan 2015 (knitted) 

Find it on Ravelry here...(Knitted Blossom Pin keeper)


DETAILS

 4 yarns - green, pink, red, multicoloured
size 4mm needles
Tapestry needle to sew in ends.
Scissors
Pearl button or feature button
2 pieces of coordinating fabric 13cm x 13cm.  (insert)
Toyfil fibre or sand and a funnel for the insert (I have used toyfil)
Sewing needle and cotton to stitch up the opening of the insert and to attach the button
Finished size – 12cm square

METHOD –
Blocking the square


Cast on 20 stitches, Green, cast on 20 st multicoloured yarn. **Ensure you cross the colours over each other at the join to avoid a gap.

Knit in stocking stitch for 26 rows, ending on a purl row. Cut yarn.  Join new colour.

Knit across the row for 20 sts in colour 3, knit next 20sts in colour 4
Knit 25 more rows with these two colours.
Block.

ASSEMBLY
All corners are brought to the centre and stitched along the diagonal.

1.  Bring two adjacent corners to the centre and with a running stitch, join from the middle to the corner. Fasten off.


2. Work your way around the square joining corners starting at the middle first and working your way out to the edge.

 Leave the last diagonal open so you can insert the filled cushion inside. 


Leave the last diagonal open to insert the fabric square.  This will become the TOP.  

3. Once you have made the insert, stitch up the last diagonal.


INSERT

Draw a square 5mm in from the cut edge on the wrong side of your fabric.

Stitch around the square leaving a 3cm opening on one side. You will turn the square through here. 

Fill the insert with sand or Toyfil fibre.  Using a small stitch, close up the opening. Place the insert in the crocheted square before closing up the last diagonal join


FLOWER

Leaves and flowers are from the same pattern. 

Abbreviation

Kfb – knit front and back into the same stitch

Cast on 2 sts. Knit both stitches.
1.   Kfb in the first stitch, knit to the end. (3sts)

Repeat row 1 above until you have 8 sts.

Next knit row: K2 tog all across (4sts)

K2 tog all across (2st)

K2 tog across. Fasten off.

Weave the ends through the back of the petal.  Make five. Leave one tail long to join the petals together.

LEAVES
Repeat above for the petals in green.  Make two.

Assembly
Thread the long tail into a needle and join the petals through the base of each one.  Pull this up tight and secure the join with a knot.  Attach a button to the centre. 

Position the flower and leaves on the pin keeper and attach with the long tails. 
Overstitch the diagonal joins on the pin keeper with yarn if you wish.


I hope you have busted some of your stash and that this has been a easy, satisfying project to kick off our Year of the Flower! 

If you have any questions,  or if you see any errors, please contact me at wildaboutyarn@outlook.com. 


I'll be off stitching... planning the next YAL pattern for February. 

Lu xxxx

Friday, 14 February 2014

Valentine's Day Heart

Welcome on this sunny summer Day here in Australia!  I hope your Valentine's day has some surprises, some memorable times and some chocolate and coffee!!  

Hearts are a universal symbol recognised no matter what culture or  country and Valentine's day is an excuse...an excuse to eat chocolates without guilt, an excuse to tell all those dear to you how much you care, an excuse to  make as many heart projects as possible! :-) 


This  heart wreath, if it is indeed a wreath, has brought me great joy over the last few weeks. I've watched with such pleasure as it's come together. ( Why not copy and paste the image into a document and make your own card!)  I like all the processes in making projects, especially the photographing and writing.  


The butterflies are from Ravelry ButterflyGrace  http://www.ravelry.com/patterns/library/butterfly-grace and can be made smaller or larger depending on your yarn ply and hook. This is a free pattern. The flowers can be found all over the web and are also free. 


 Please feel free to link to wildaboutyarn.blogspot.com or use an image from the post with a link back on your social media or  to Pinterest.  (Republishing entire posts is prohibited.  Thank you for your consideration.)


I've had so much fun making the mosaic for this special day,every little picture a story.  

I wanted to make bunting but there  are so many sites with bunting, I would have been repeating the ideas.  I decided on this easy to make luggage label so I could get my heart fix out!!! :-)  


My daughter has travelled overseas many times now. Next time, her luggage will be easily identifiable with this sweet handmade heart luggage label made from thick book board, decorative paper and yarn.  

Tell me how you spent your valentine's day. It's not just about lovers but an opportunity to tell all our friends what they  mean to us. 

Happy V Day to you all,

Lu x