Showing posts with label dyeing. Show all posts

Friday, 30 March 2018

Dyeing Easter Eggs botanical style


Easter Eggs Botanical style


Eco dyed eggs are an easy project for children and adults alike


I’ve been dyeing yarn and fabric and making contact prints using botanical material for years now. One of my favourite times of year is Easter, not just for the chocolate 😃 but because it’s an excuse to dye eggs.  The patterns on paper and fabric are unique and satisfying. (see some  below) 


Eco prints using leaves - book covers

Plants make beautiful prints on paper and fabric


Dyeing eggs is an activity that everyone in the family can do, in fact, having an extra pair of hands at the wrapping stage is  very ‘handy’, ( ;-) pardon the pun!) You will find everything you need in the kitchen. 

Materials:
-Eggs (I purchased the cheapest eggs and cooked a dozen (in case of breakages) 
-Food dye - use half of the dye to get a strong colour and enough water to cover the egg
    (You can use fabric dyes but this equipment must be used only for dyeing, not for cooking. )
-small flowers or leaf matter:  small ferns are great, impatien flowers, daisies, flowers with small petals
-Onion skins – 2 handsful (either red or brown onions work best and just the outer skin, no flesh)
-Saucepan for onion skins
-Saucepan for food dye
-Dessertspoon (to lift eggs out when hot)
-Small bowls to mix dye in
-narrow sticky tape
-bowl to sit eggs in once they are dyed
-old pantyhose/ stockings – cut off the body part and cut the legs into sections. Allow about 8” (20cm) for each egg. 
-sticky dots or sticky shape labels (these can be attached to the eggs as a resist)

METHOD
1.  Place eggs into cold water, bring to the boil, boil for 3 minutes and allow them to cool.
2. Put onion skins in enough water to cover them, bring to the boil, simmer for 30 mins to increase the colour.
Spread out the stocking with your hand
place the egg in then position plant
matter around it
3. Cut stockings into sections. Tie ONE end of each section.
4. Sit boiled egg into stretched-out stocking.

5. 
Sometimes stretching the stocking
over a cup helps if you don't
have a second set of hands
Gently place plant matter around the egg and then release the stocking over the egg. Rearrange plant matter if it has moved. 
This is where two people come in handy – one to hold the stretched stocking and the egg, the other person to arrange the plant matter and tie up the top of the stocking.  

6. OPTIONAL** Place sticky dots on the outside of the egg; OR… put sticky tape around the eggs to make straight lines
Twist the top of the stocking to secure the
 egg inside, then knot it


7. Secure the top  of the egg parcel with a knot.


Egg parcels ready for the dye pot


Daisy flower 


Add caption

(left) Sometimes, even boiled eggs can crack when being placed inside the stocking. 😡 This one could have been boiled a little longer...😖

8. Bring water in a small saucepan to the boil and add your chosen food colour (or fabric) dye. 
9. Slide the egg parcel  into the food dye pot or onion dye pot.  


Moisten the impatien white flower so it sticks to the edge of the egg
10. Leave bubbling away for 10 minutes.  Remove and allow to cool down.

Voila! Dyed easter eggs for your table. 

The impatien leaves its mark by resisting the dye

I love the fern imprint the most.  


If you dye eggs with your family, post pictures to share on Facebook (and tag me 'Linda Douglas Brisbane')  or on Instagram and use the hashtag   #wildaboutbooksnprint #dyedeastereggs2018  #wildaboutyarneggs


Happy Happy Easter to everyone. Stay safe and eat plenty of chocolate.

Lu xxxx


NOTE: With all the heating and cooling and then leaving eggs out on the table for show, I don’t recommend eating these dyed eggs. J ) Eat the chocolate ones instead...


NEW POST:

To all my yarn loving followers here and on IG, I have a new enamel pin  and I'm loving it!  Put it on your project bag to remind you to take time to relax and do cosy things with friends or family or on your own.  Find it here: Enamel pin, Make time for Hygge 

You will probably  know how important hygge (pronounced as hue-ga) is to the Danish community as there are many books and articles about it lately.  Hygge is not something we do for one month -it's a lifestyle choice and it's something everyone everywhere can do.  I hope you like the pin and purchase one for you  or for a friend.  (Postage is $3.50 for up to 3 pins in one parcel)
to relax and spend time with friends.  It is shown below.  Find it here...


Thursday, 17 November 2016

Favourite things of 2016

Hello November
where did the year go? 

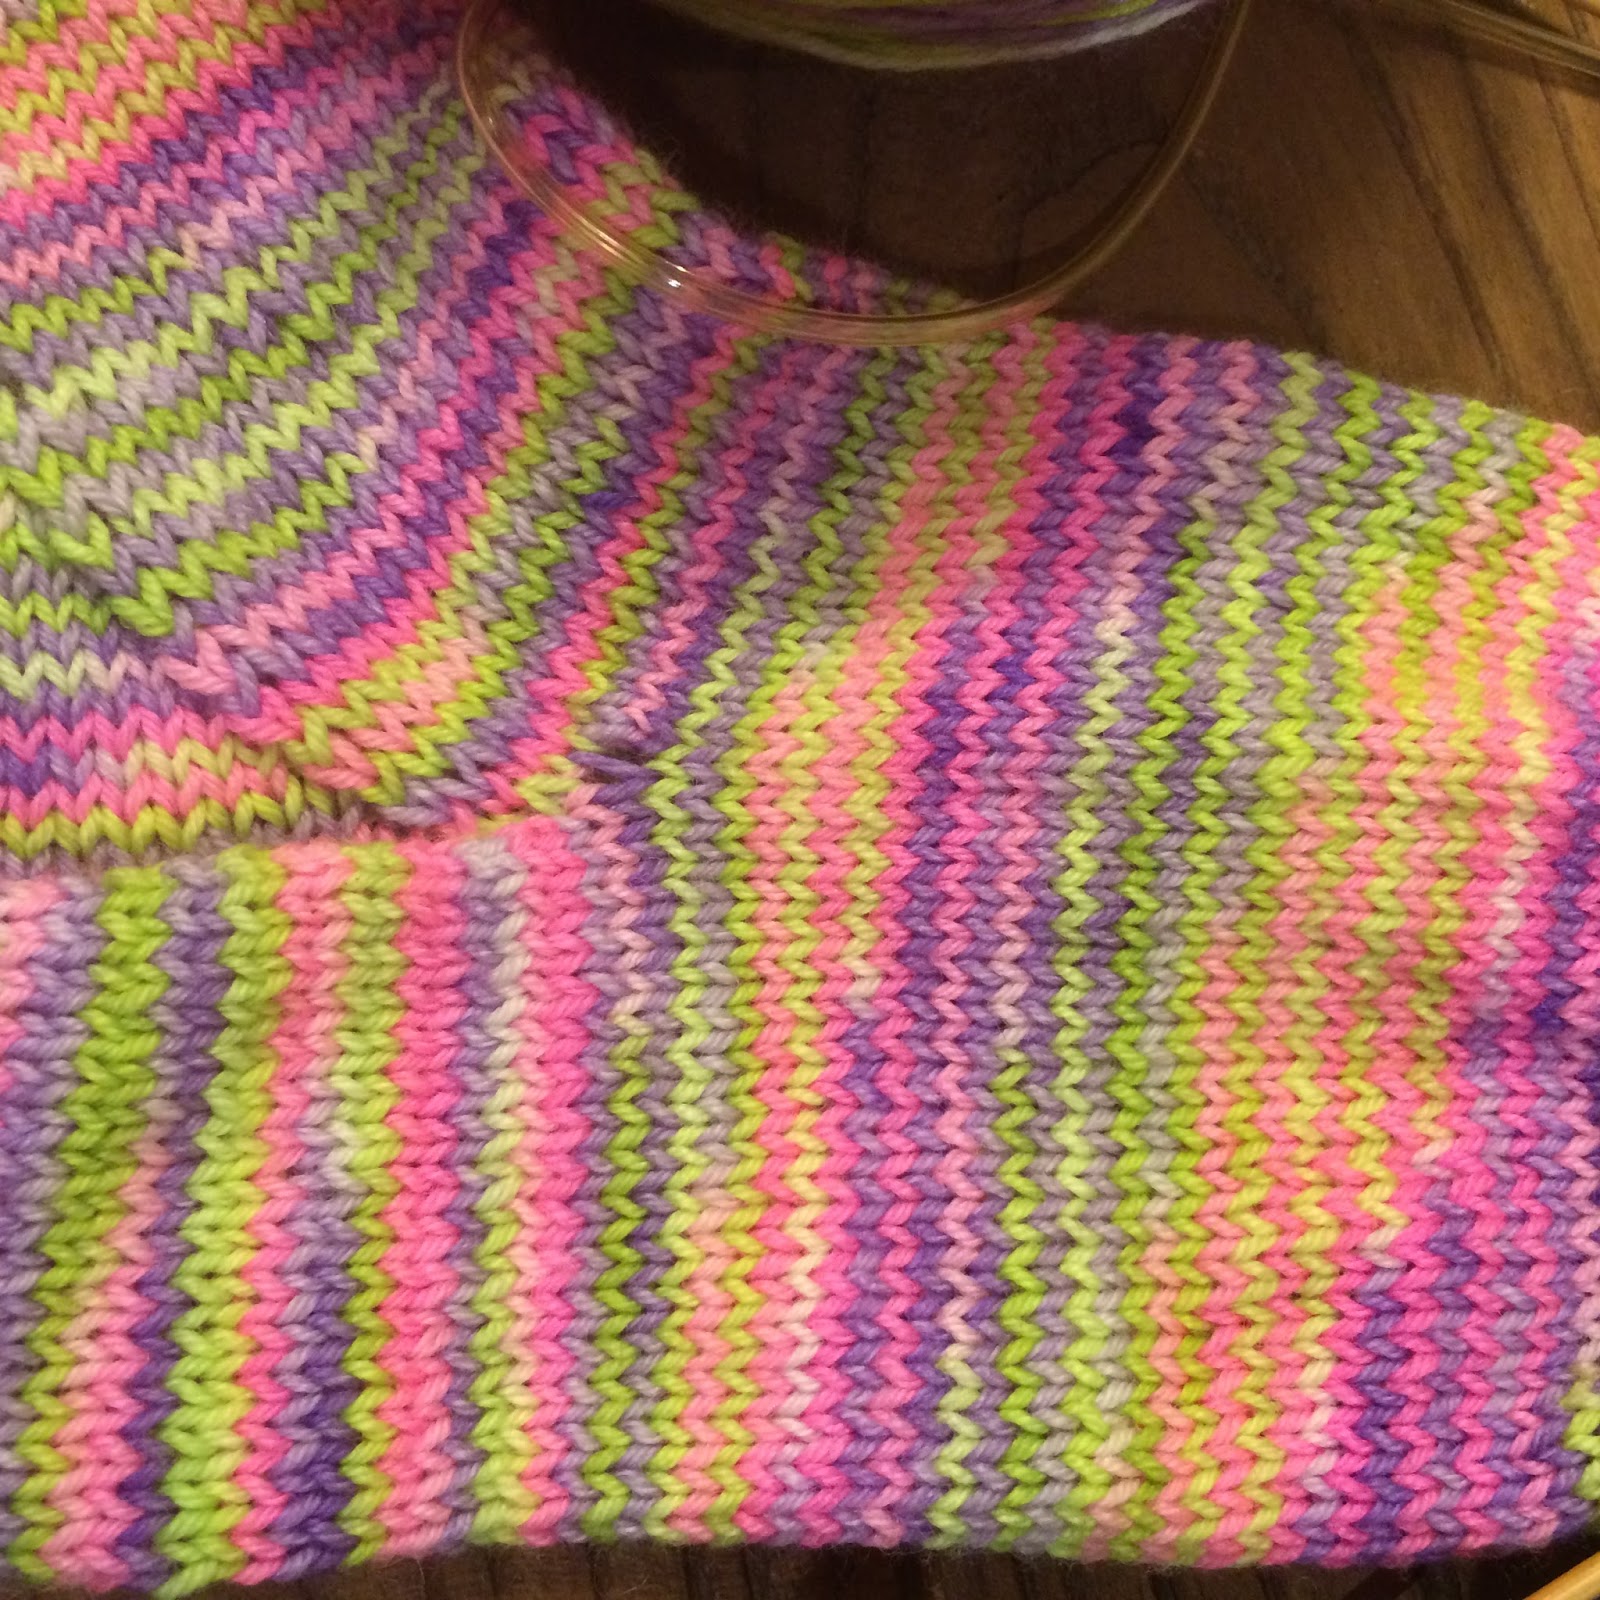
The other day, I sat and wrote down all the projects that were my favourites for 2016.  Socks, dyeing, flowers, little bejewelled blankets...too many to include here!  I think you all know that knitting socks is one of my favourite things to do...it's theraputic for me and now that I've gotten my formatting down, I can do it without a pattern.  You could too if you tried.
(Free tips on knitting socks here...☺
                              http://wildaboutyarn.blogspot.com.au/2014/11/aburning-sock-desire-sock-knitting-in.html  )
This is Secret Garden yarn, gifted to me by the lovely Connie  who has just uploaded a whole new batch of delicious yarns!

(Find these beautiful yarns here...Chile Knitz yarns

I fell in love with this Regis Thelma colourway  - this is the basic sock pattern
Hermione socks http://www.ravelry.com/patterns/library/hermiones-everyday-socks  in Kaleidoscopeali Paintbox 7 yarn

 I wanted ankle socks and Rosecity Rollers  (Find them here...seemed perfect, 
quick to make and are so cute.    (I used a Madeline Tosh  - light pink - and  a multi coloured sock yarn from Spotlight for the toes and cuff.)

Nature featured in many of my projects this year whether it was in dyeing or prints.   I travelled extensively throughout Queensland this year teaching workshops. It's my passion and seeing the achievements of all those who attended is just one of the rewards of being able to share my knowledge and skills. At last count, there were more than 120 participants  who took part in my classes this year. A huge thank you to everyone for the support and creative fun we had.

Sock yarn dyed with avocado pits/skins and wattle
DYEING yarn and paper were part of some of the workshops.  Dyeing is easy to achieve for beginners but the process  always offers a uniqueness;  there is some ofthe unknown in how it turns out which makes it  exciting.

Are you like I am & want to knit every skein you dye just to see what colour pattern emerges? Alas, some fly out the door to other homes before there's a chance but there's always the thrill of seeing the variations once the skein is dried and caked up.  Gathering plants in season ensures I achieve the colours I want so keep that in mind. (Freeze the leaves and flowers for later use.)


You don't need to use plants to achieve dyes.  The yarn on the left has been dyed with food colouring and yes, it's permanent.  In the 3rd issue of  Wild About Yarn Magazine (still available here Wild About Yarn issue 3, PDF download only ) there is a yarn dyeing tutorial using food colouring showing how easy it is for anyone.  The magazine also has an interview with the very generous Heike Gittens of Madewithloops  and did you know Heike and Claudia  now have a new book available? (Find it here A Little Book of Shawls).  


 Dyeing with plants is a matter of science and sometimes serendipity even when you follow all the rules!  Water quality effects the ph balance too, so what might have been purple can turn out brown.  I teach yarn and fabric dyeing workshops so if you are interested in a workshop, contact me for details. (wildaboutyarn@outlook.com) 
Announcement: Later this year, my book  - The Magic of Microwave Dyeing - will be published! 


Flowers

One of the most popular photos this year has been my knitted and crocheted flower arrangements. I created my own secret garden.
We have the best of both worlds today - the colours of our yarn choices are innumerable and the internet brings many designs and tutorials for us to try.   I love that more designers are creating wearable art and home decor that fits in well in contemporary times.  And I look forward to discovering more creative ways to display and arrange yarn projects.  Pinterest (Lu Douglas Pinterest crochet)
Pinterest is nothing short of magic.


Montages are compact moments of  personal history and every month, I prepare one. It reminds me of just what I've achieved and I don't mind telling you that I sometimes surprise myself.
(top right) current Scrappy socks   (bottom left) daisy granny squares for a blanket
                               (bottom right) basket made using foraged plants
Clockwise from top left:  I called this my Bijoux Blanket and have been working on it with my multi talented friend, Teresa Mercer, from Montana (find her crocheted items and jewellery here  Mercer Made)  This tiny block is a universal one but how delightful to create a join-as-you-go project when the larger ones get to be overwhelming. (You could join us too. See below for the method and hashtag it   #bijouxblanket on Instagram. Tag me please @wildaboutyarn)  
Thank you Alice (Instagram @alicebyday)  for the inspirational photo. 
The Bijoux Blanket is a great way to use up left overs for a runner or a small throw; make it into a bag and line it, or add more blocks to the design to create a shawl.  So many possibilities.

BIJOUX BLANKET METHOD
Magic ring. (UK TERMS) 
ch3, 2tr into ring, *ch3, 3tr into ring, repeat twice more from *, slst into the 3rd ch of the beg ch3.  Done. :-) 
For subsequent motifs, use join-as-you-go method at the ch3 section by doing ch1, slst into the corner of the first motif, ch1, continue with 3tr into the ring, Repeat this at the next corner and at corners where the motifs meet.   Work in rows. 


 Remember to put aside a little time each day for you...and enjoy November before the rush of Christmas begins.

Happy stitching,
Lu


Saturday, 26 March 2016

Wild about Yarn Magazine, Issue 3 Autumn, the dyeing issue

Wild About Yarn Magazine, issue 3, Autumn - the dyeing issue

Issue 3, Autumn, a magazine all about yarn 

                    The mesmerising mandalas on the cover belong to the lovely Sandra Eng  (instagram - @mobiusgirl)  of Minnesota.   Sandra is our featured maker and creator.  She makes and creates some of the most intricate circles of crochet and the results speak for themselves! 

Heike Gittins  (Instagram - @madewithloops) from the United Kingdom knits exquisite designs, so feminine and professionally made.  You can create these designs too if you go to her website.  You can also read about the magazine on her blog here. Made with Loops There are several free patterns in both crochet and knitting, and some exquisite knitted designs to purchase here . Take a look at her latest ventures with Claudia Baumann-Ruegg in Germany. Thank you, Claudia, for announcing the release of Issue 3 on your blog 
Claudia's blog http://wollsinn.blogspot.com.au

Heike has generously provided two crochet patterns in the magazine but I won't spoil it by showing you those.  :-) 

Ellie Beck lives in the rainforest in a house that she and her husband, Sam, have been building for the last 5 years. She manages to create the most beautiful yarns and fabrics by naturally dyeing them with nature's bounty.  Read about her life in the slow-lane and how she balances this and family.  

Since this is the dyeing issue, you will find a brief history of dyeing and a tutorial for those who wish to dye their own yarn. As I wrote - if you can cook spaghetti, you can dye yarn! 


Garter stitch knitting with children
If you happen to teach children knitting, there's an article on pointers to get them started. 


I'm so proud of this issue. It's a PDF download which diverts from the 'book in the hand' magazine I initially conceptualised, but rising postage costs, time taken for some to reach their destination (2 months to some countries!!!) and some getting 'lost' in the mail brought this about.  I hope you will purchase an issue and see for yourself how inspiring yarn in the hands of  our three creatives can be.  

Happy Yarning,
Lu x

Link to Etsy to see the new issue of Wild About Yarn Issue 3, Autumn link